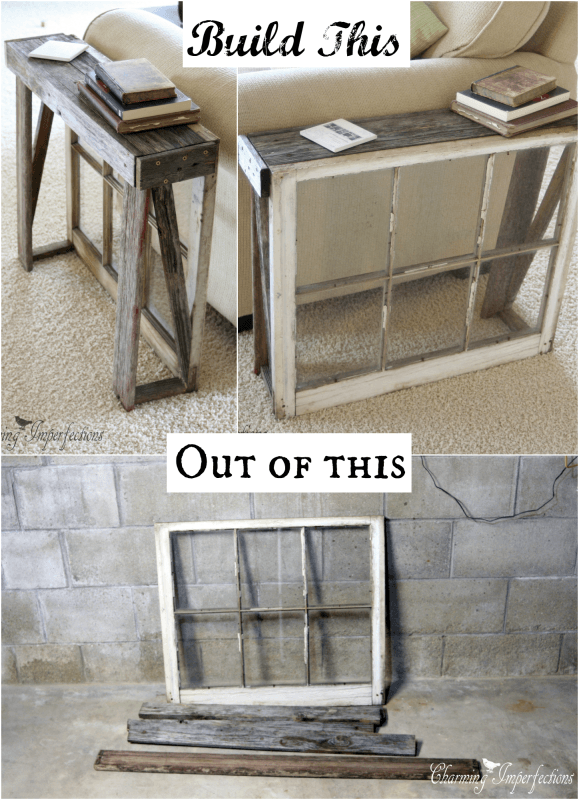
Lately I’ve been on the lookout for a side table to place next to our couch. It couldn’t be a traditionally square shaped side table, but a long and narrow one to save space through a well-traveled walkway. Well, I didn’t have much time to shop, nor did I like the idea of spending a ton of money on table (typical of me). I actually had no plans to make one, I was just going to give up, but then I had this old window sitting around and a pile of reclaimed wood. Then it came to me. The vision of a perfect little table made out of those on-hand materials and I am here today to share that with you.
The basic materials are obviously the window and boards. For tools I used a power drill, 1 1/4 inch screws, and a circular saw.
Start by measuring the width of the window. Cut three boards to this length (more or less depending on how wide you want the table).
In the picture above the boards labeled 1,2, and 3 are the three you just cut. Now cut the A and B boards to the length of those put together. Next, screw the A and B boards to the others to hold the whole thing together. Just to give you an idea of how this will come together: the #3 board is the one that goes against the top of the window.
Measure the leg boards to the height of the window. If only it were that simple…actually you want to measure the height of the window minus the thickness of the table top board. Or, if the board you were hoping to use for legs is too short, you cut it exactly in half and screw the very tippy top to the table and hope it all stays together.
Now you get to attach it to the window! Yay!
Now, for extra stability you are going to add a couple supporting boards. I know mathematically there is a way to figure out the angle that the angled one should be, I just hold it where I want it (as indicated by the yellow in the picture above) and draw a line. Hey, it works. The bottom little piece of wood can be measured to match the width of the top.
It’s just perfect for setting my morning coffee on when baby Jordan comes over begging to be picked up and snuggled (the coffee table is no longer used for this due his quick side-swiping arms). The only dilema I have is whether I like it better this way….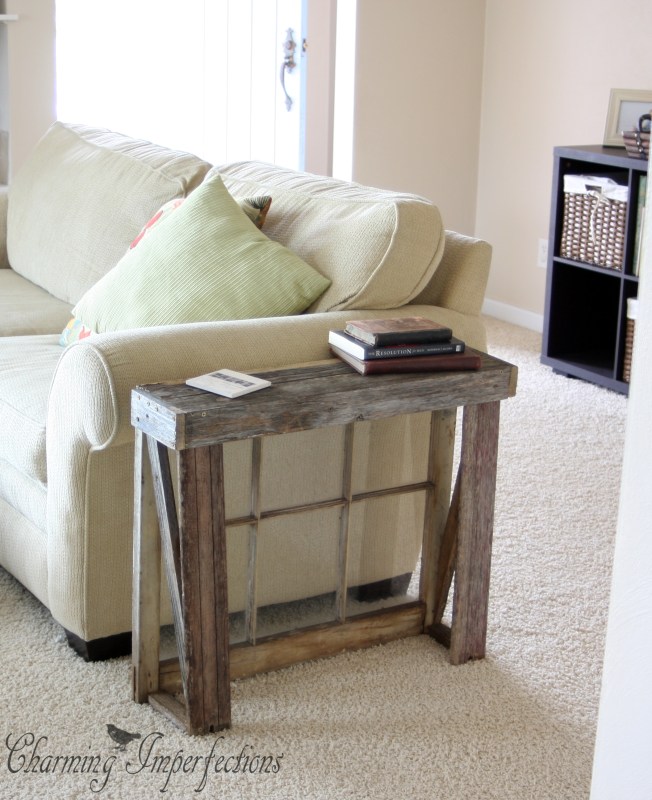
…or that. It’s sturdier with the window towards the couch. Hmm…this way?
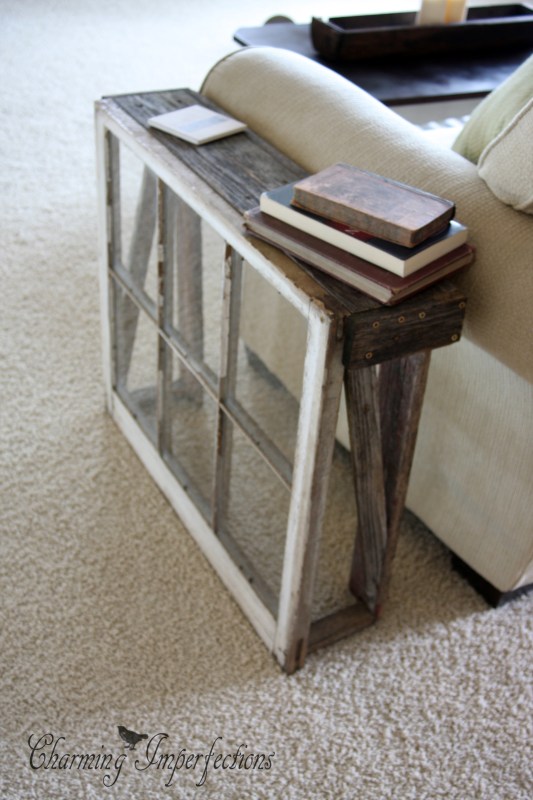
…or, maybe this way?
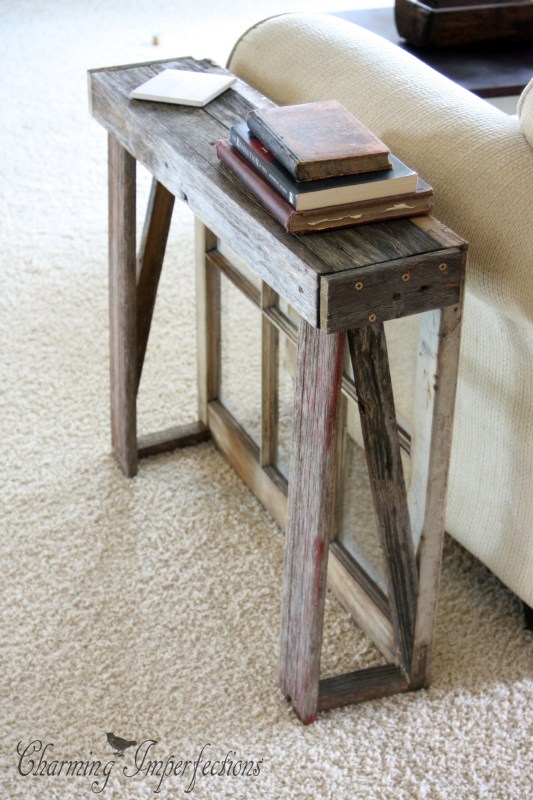
What do you think? Comments below would be much appreciated Either way, it’s a lovely antique window side table that I’m just loving.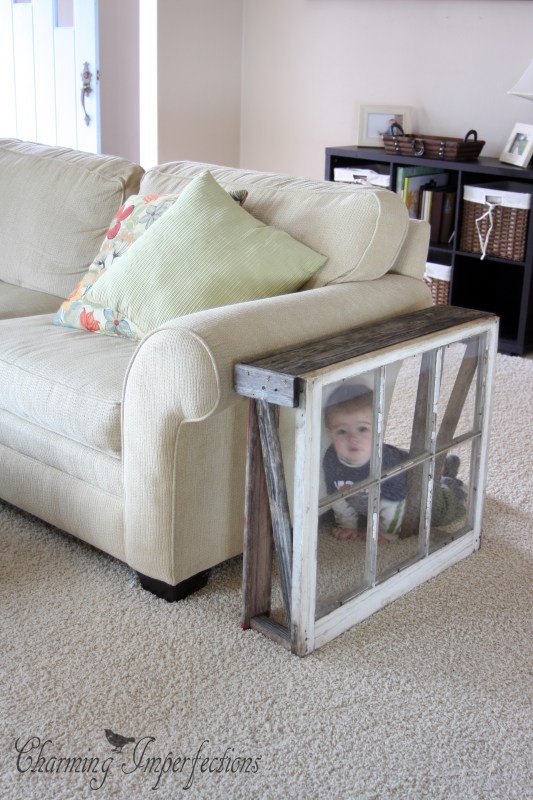
Jordan likes it better with the window facing out as it makes a lovely little tunnel. He loves inspecting new pieces of furniture!
This is brilliant! I want to try this. Love the rustic look of it.
Thanks Kimberly! It was really pretty easy to put together!
Beautiful beautiful beautiful!! Ughh I wish I was more handy, would love to make something like that. Maybe I also lack motivation hahah but it’s a lovely finished product, I will keep it on my to do wish list
Love it both ways but window facing out showcases the window nicely

Holly recently posted…Lets talk about Beauty and the Newfoundland..
Thank you so much Holly! I agree that I think I like it facing out better.