
“And my God will supply every need of yours according to his riches in glory in Christ Jesus.” Philippians 4:19
Alright, so I did not need a farmhouse table. We had a perfectly adequate dining room table that I’d given faux planks and painted that worked just fine for our family, but, I’ll admit, it was always meant to be temporary. I always hoped to replace it with a real farmhouse table with real planks.
We hadn’t been keeping a strict budget so far this year, and with me quitting work to be a stay at home mom, by July, we were beginning to feel uncomfortable with our out of balance income to expense ratio. I was planning on building a farmhouse table out of standard wood that month, but Mr. Charming wisely asked that I didn’t for the sake of our budget. Even though making a table would be way cheaper than buying one, it was still an expense that we really didn’t need.
It was a miniscule sacrifice on my part, but a sacrifice non-the-less. I realized in the grand scheme of things, being able to budget carefully and be good stewards of the money God gave us was the right thing to do, but I was sad not to get my table.
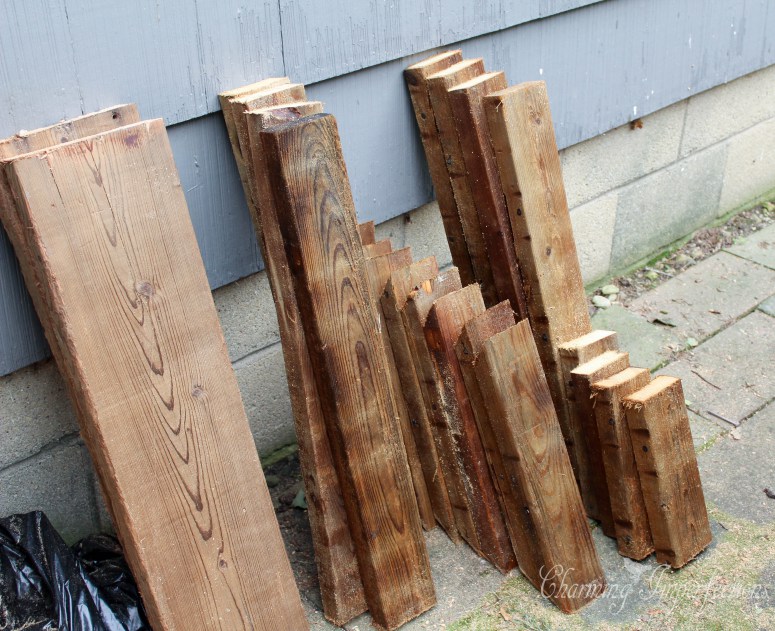
God has a way of waiting to bless people until after they have submitted and obeyed him. A few weeks ago I was at my parent’s house and in their field was a huge pile of old logs and timber. They are remodeling a house and tore down a shed out back, which resulted in this huge pile of great old 2×4, 2×8, and 2×6 boards! Thank you, Jesus!
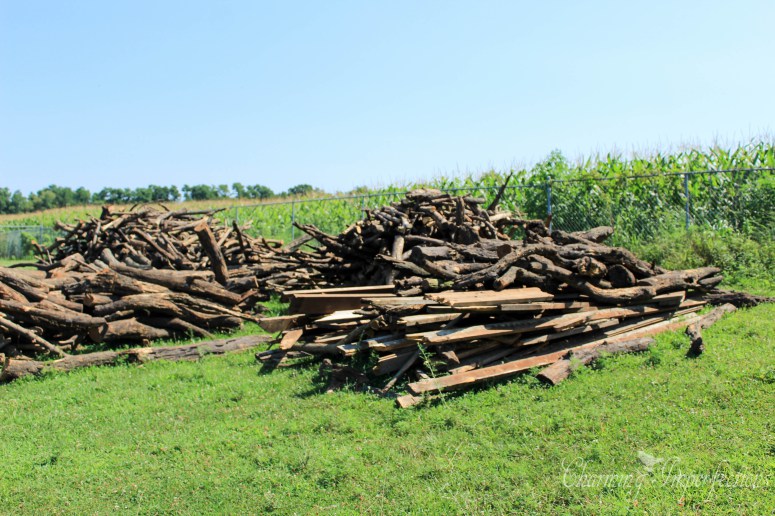
The boards were dirty and in need of some serious cleaning, but so worth it! I couldn’t wait to get started! If you follow me on Instagram, you got this sneak peak:

Tools needed (affiliate links are indicated by an (*). See my disclosure page.)
- Circular saw
- Power Drill
- Impact Driver (optional, but nice)
- Kreg Jig Master System
 *
* - Belt Sander
- Palm Sander
Materials:
- Five 2×8 boards at 8 feet long
- five 2×4 boards at 8 feet long
- Polyurethane
- 2” pocket screws
- Wood screws
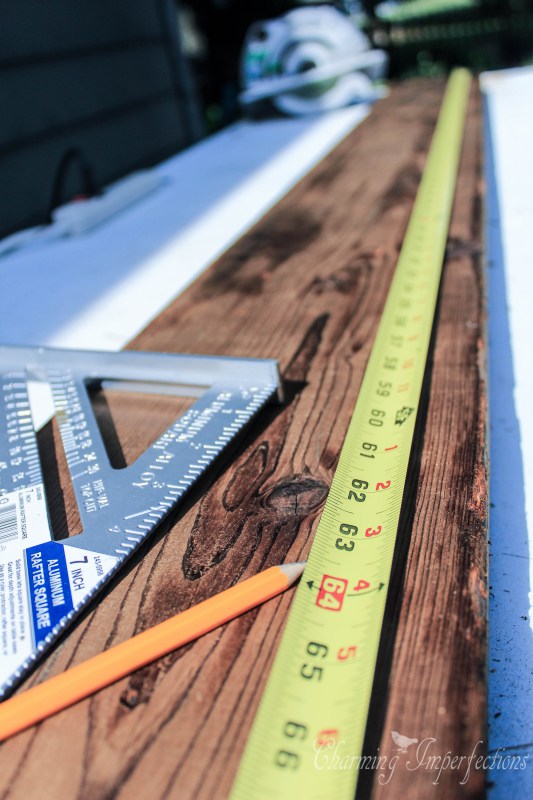
Cut List:
- Two 2x8s at 29”
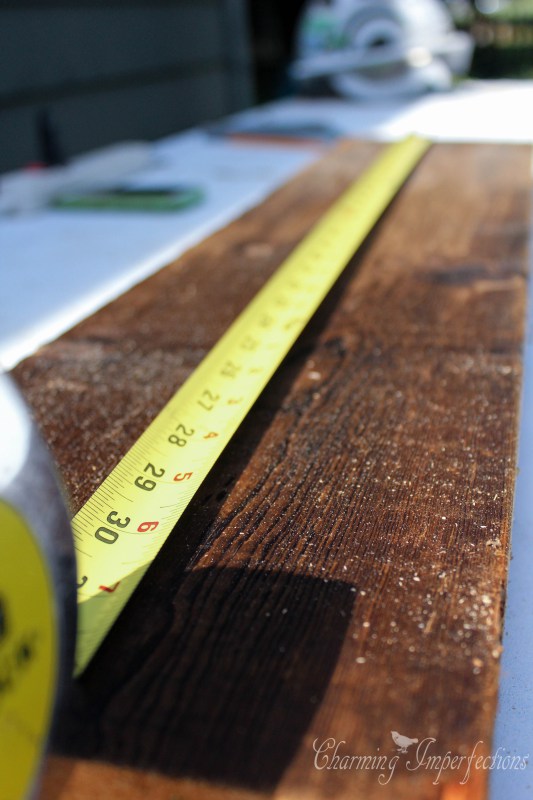
- Four 2x8s at 63 ½”
- Four 2x4s at 26”
- Four 2x4s at 11”
- Four 2x4s at 26”
- Four 2x4s at 17” with a 45 degree angle on each edge
- One 2×4 at 78”
Once you’ve made all your cuts, drill pocket holes in the backs of the table top boards about 6” apart and offset on each board. Can I just say I LOVE my Kreg Jig! It makes me so happy when I remember what woodwork projects were like without it.
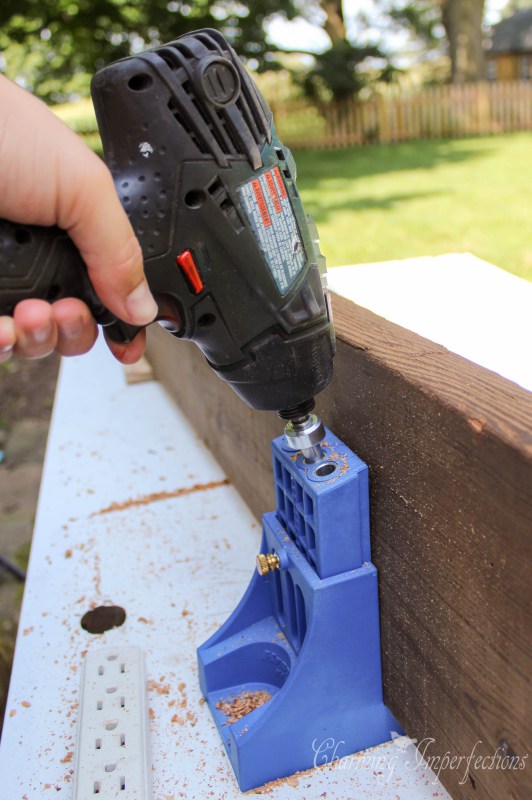
Now, fuse those boards together with some heavy duty 2” pocket screws. The ones from Kreg![]() * sink right in like nothing.
* sink right in like nothing.
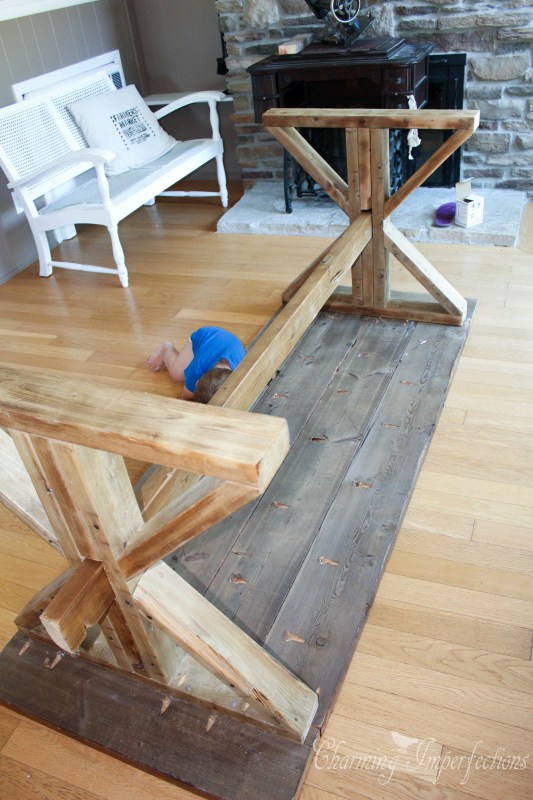
Set that lovely tabletop aside and start working on the legs. Something I wish I’d done with the legs is sand and stain them before putting them together. Learn from my mistake and do that now.
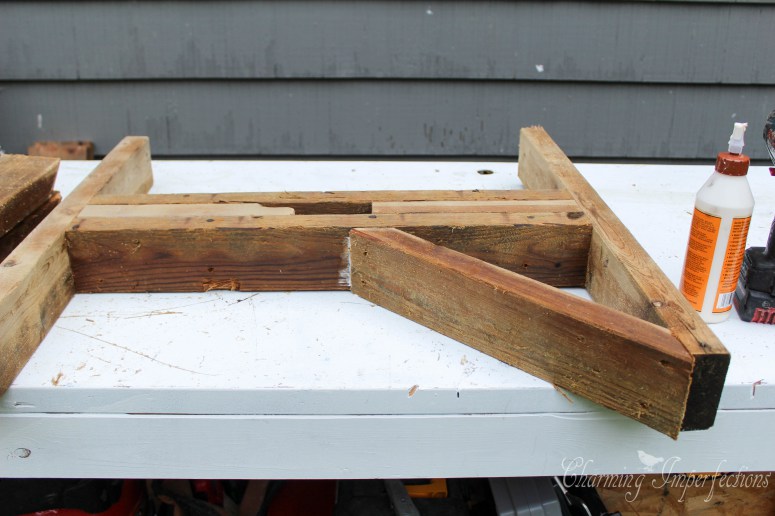
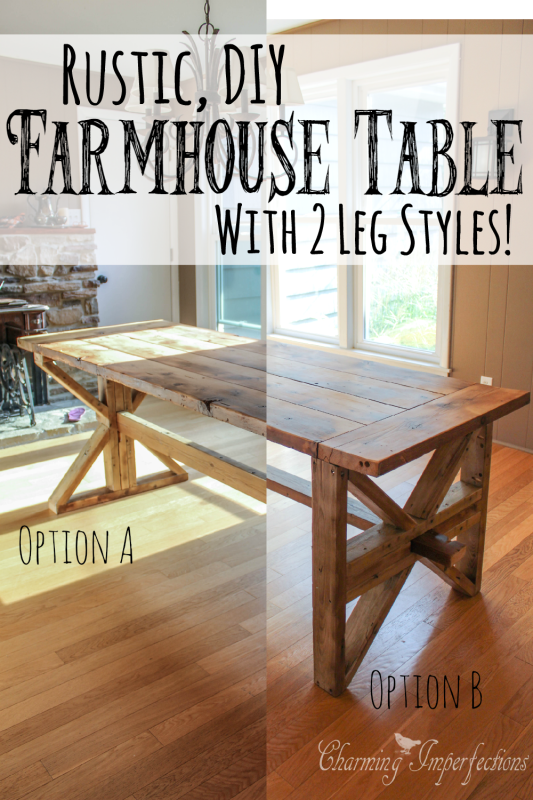
For the legs, I decided to use the same pattern as my pallet farmhouse table. Glue and screw the center leg pieces together like so….
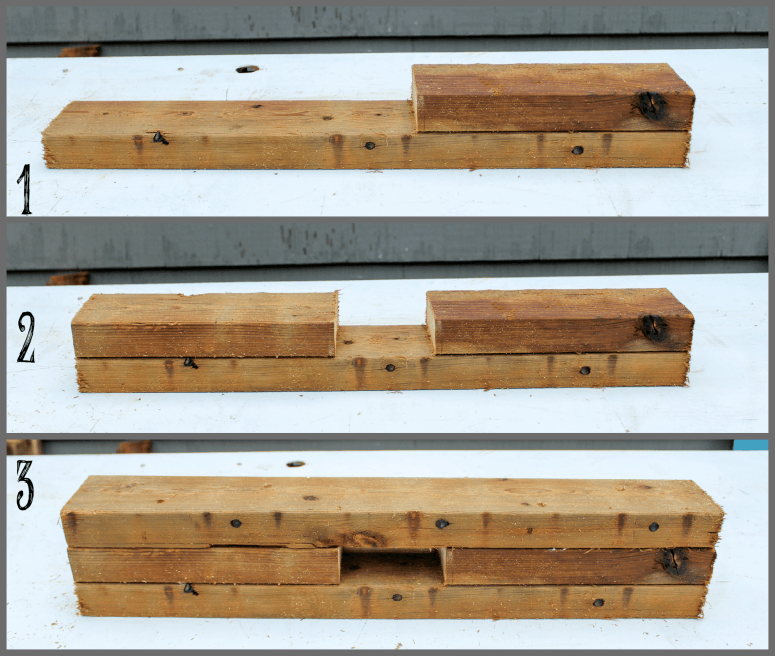
Measure to find the center of the 28” long 2x4s, then measure 2 ¼” to the left and right of that center mark. Position the leg pieces you just made in between those marks. Repeat for the other side of that leg and the top and bottom of the other leg.
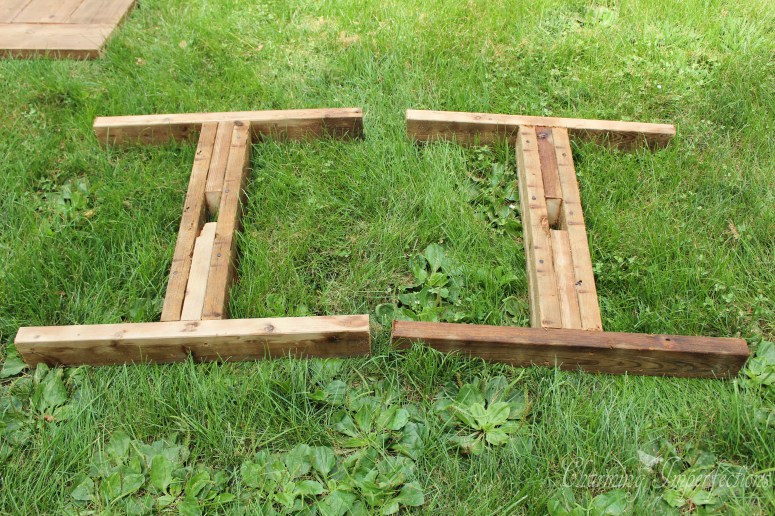
Finally attach the 17” diagonal pieces with glue and screws. Since I was using reclaimed wood, I wasn’t worried about the screw holes showing since the wood was riddled with holes anyway.

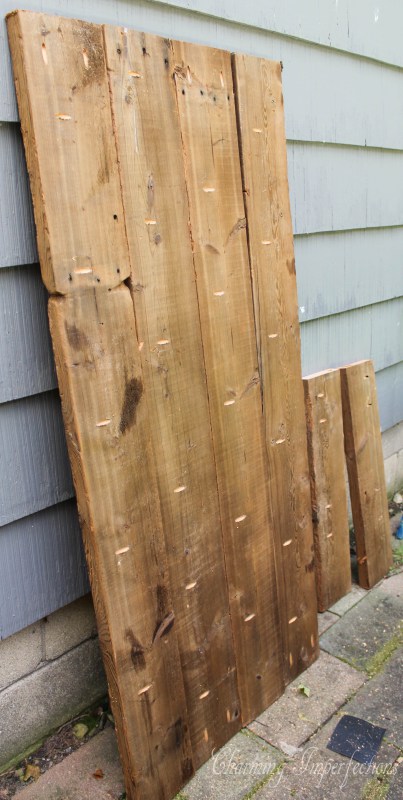
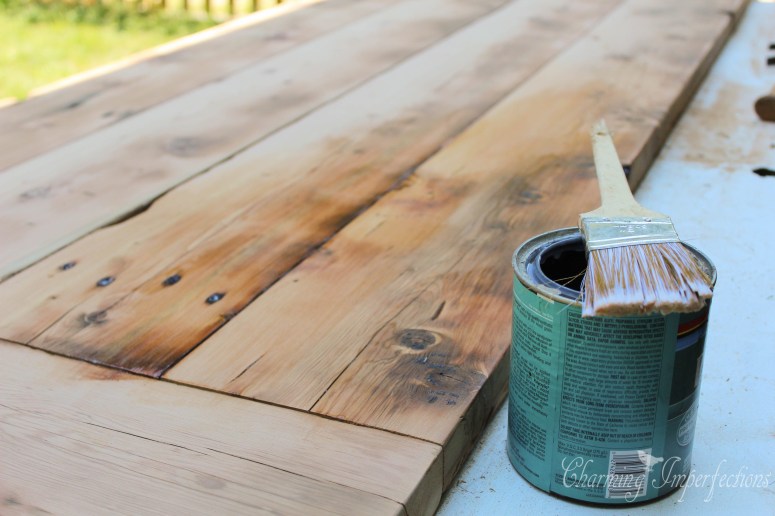
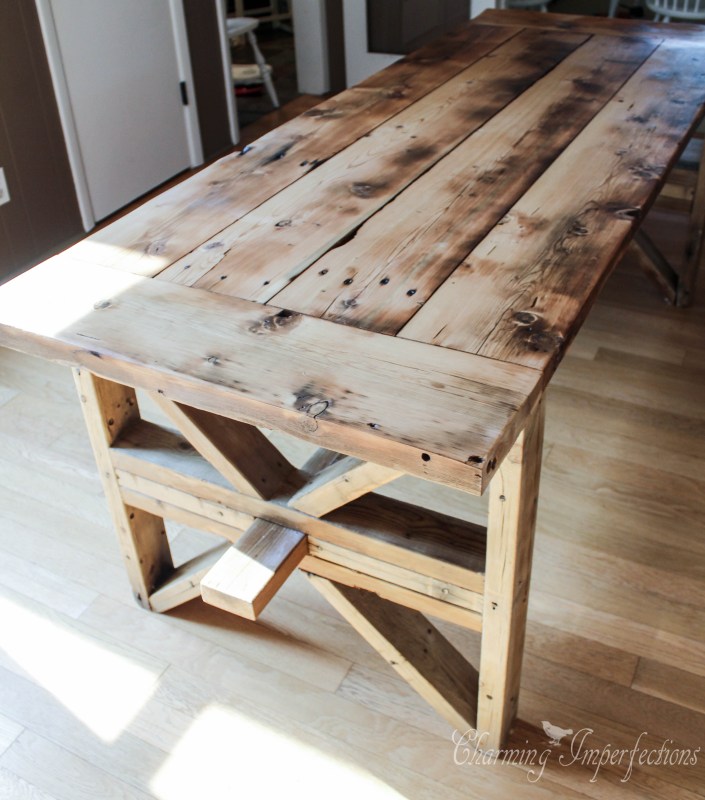
Let’s get back to that really lovely table top shall we? Hopefully you were meticulous about screwing your boards together so they are all even and smooth across the top. And, hopefully you picked out nice straight boards to begin with. I did neither and spent hours sanding as a result. I finally gave up and borrowed my Dad’s belt sander which was a total game changer. Just get it as good as possible and credit the rest as being charming imperfections.
At this point I looked at the color of the wood and liked what I saw. There was no need to stain in my opinion, so I jumped right to covering the top in polycrylic (I would have used polyurethane if I had it, but polycrylic has worked just a well on other wood projects like my Industrial factory cart coffee table). Since it is a dining room table I gave it several coats.
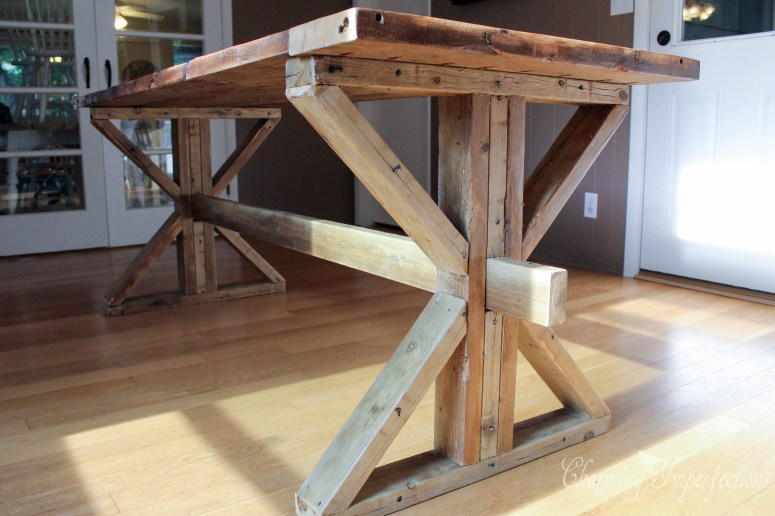
I recommend attaching the legs to the top after you’ve brought it into your house. This is one heavy table and is easier to carry in pieces.
Screw the legs onto the top.
Then, slide the remaining 2×4 through the spaces left in the legs. Sounds easy, but actually took some work and a good mallet
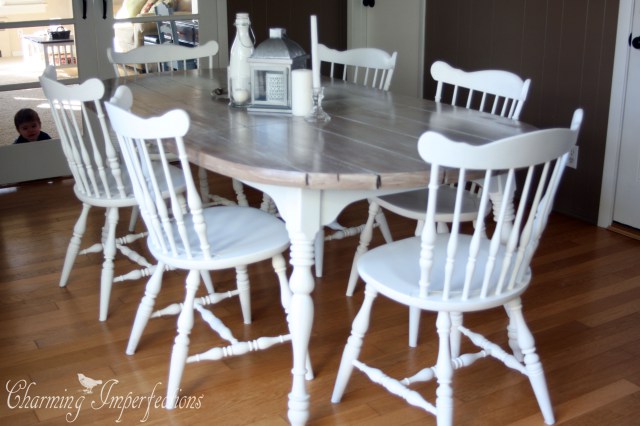
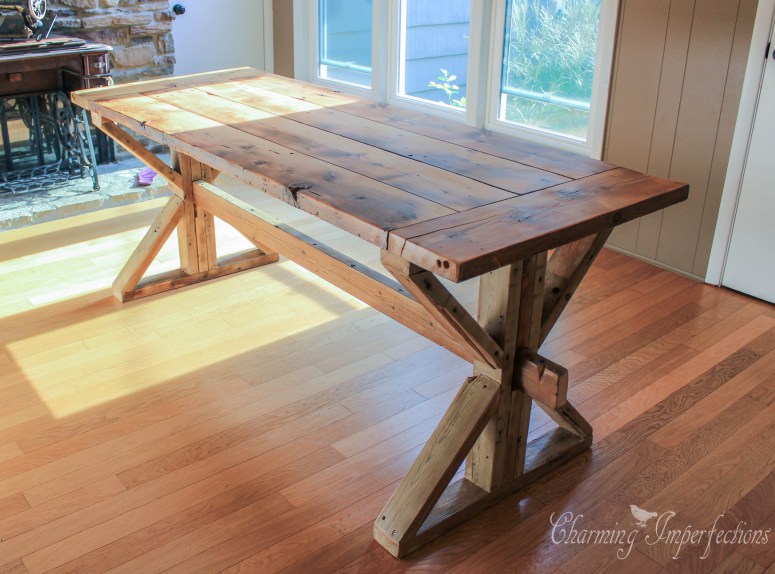
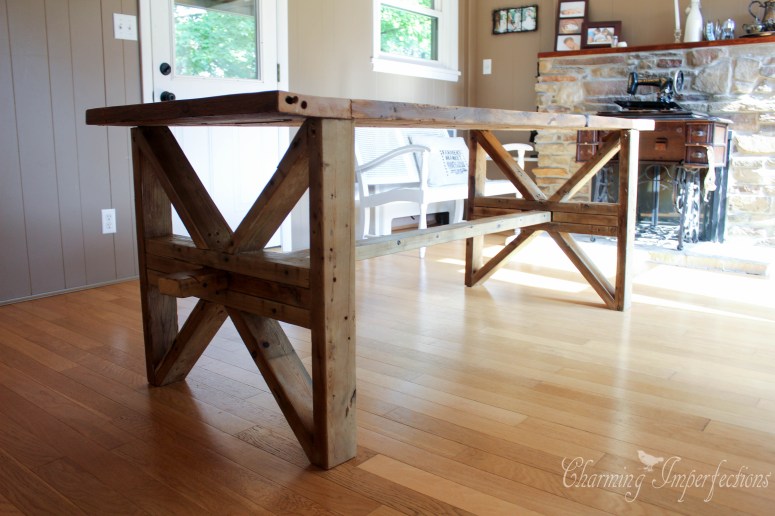
Now, stand back and enjoy your beautiful creation. Just revel in the great thing you have accomplished; the thing you just made with your own two hands…
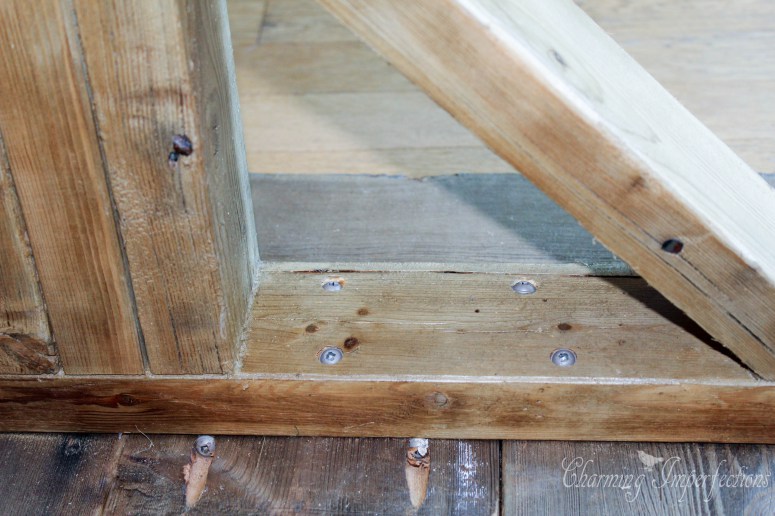
…or, be like me and decide, after hours of working on it, that you don’t like the way it looks. In that case, unscrew the legs (or, hopefully you’ve read this entire post before diving into the project and haven’t attached the legs yet), flip them over to their sides and drive 2” screws at an angle into the legs to the top.
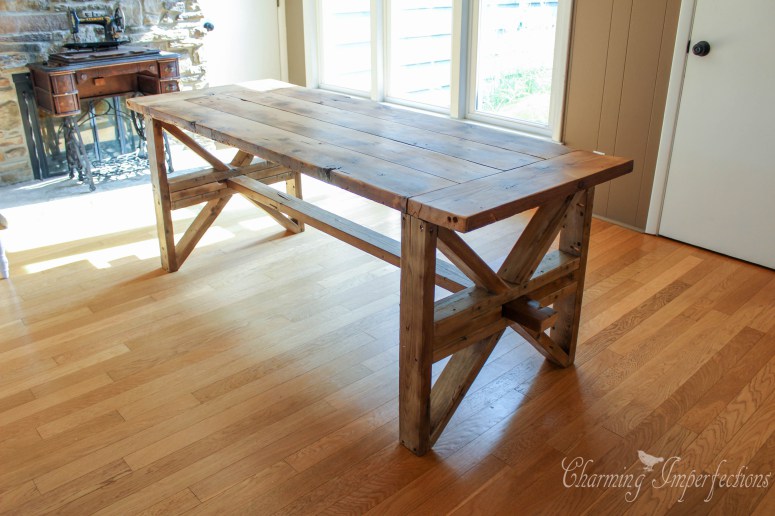
And now you can stand back and enjoy your work.
The picture below shows the color a little better.
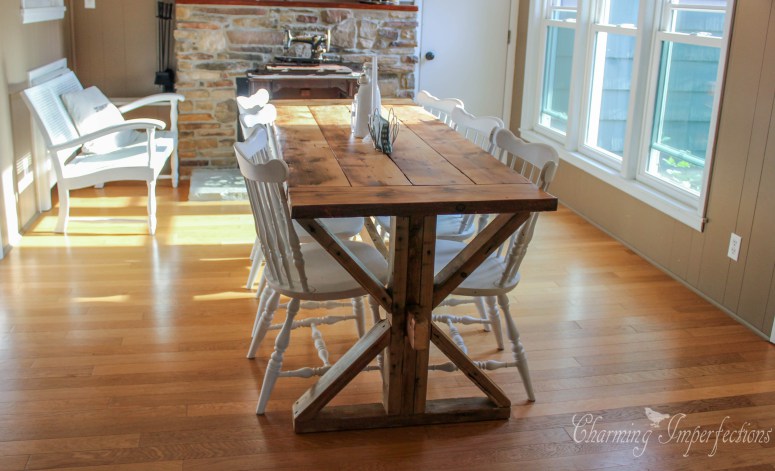
I didn’t really need a farmhouse table, and I’d resolved to waiting until our budget allowed for such splurges. But, then, only after I’d submitted, God gave an abundance of materials to me for free and I was able to get my dream after all at absolutely not monetary cost!
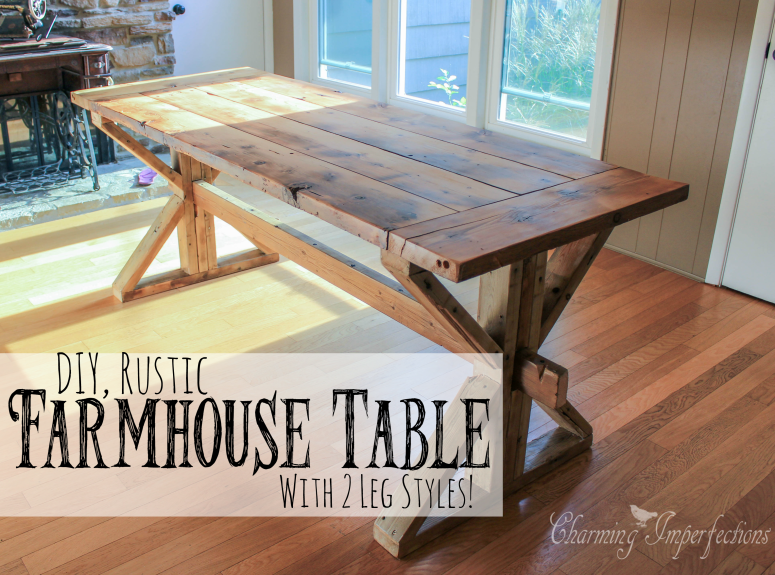
God isn’t a vending machine god, nor is He a Santa Claus. He does, however, love to bless His children and give them good things when they obey. In the grand scheme of things, this DIY farmhouse table isn’t that big of a deal, but the lesson I learned from it, is eternal.
Please Pin and Share the image below for all your farmhouse loving friends to benefit from. Maybe they want to build a farmhouse table too!
Leave a Reply